

3-Step Opening Measurement Guide for a Custom Outdoor Motorized Screen.
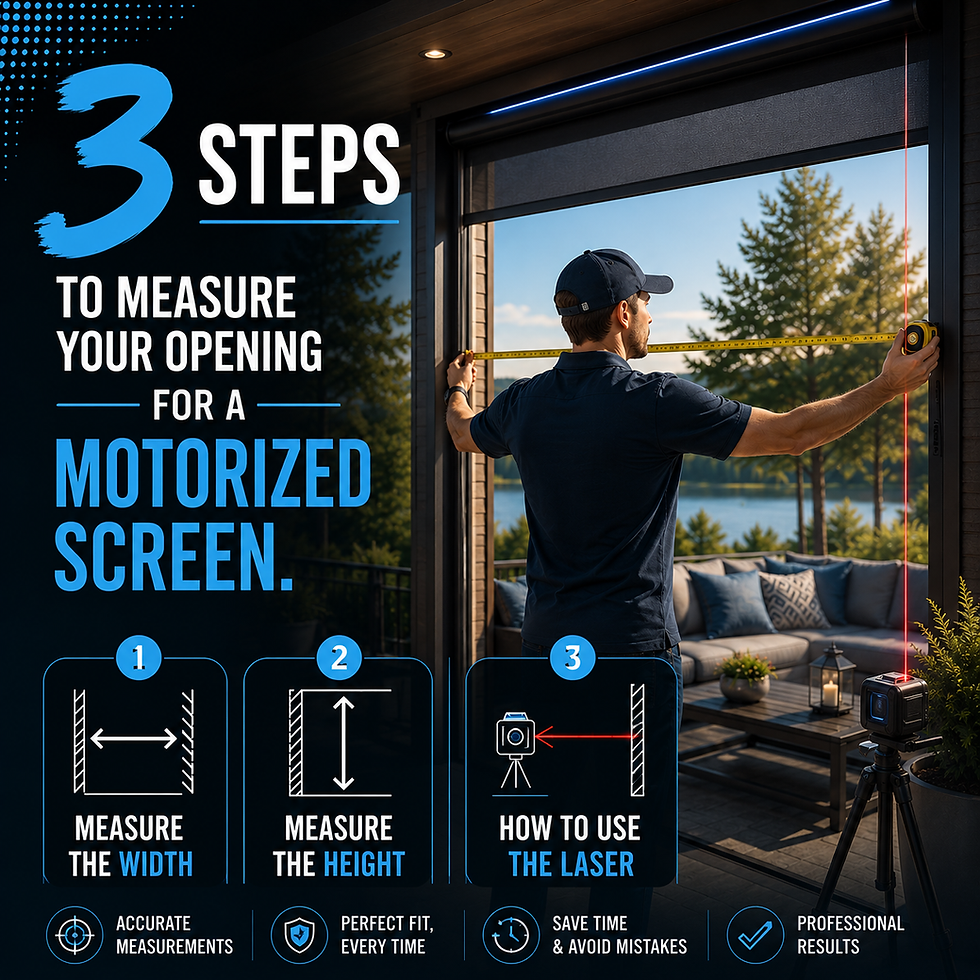
Measuring for a custom motorized screen may seem complex at first glance. However, with a few simple tools and the right method, it is absolutely possible to obtain a reliable first evaluation of your project.
At Celeste, we use a two-phase approach to better understand your opening and confirm the feasibility of the installation. Whether your project involves a patio, pergola, gazebo, porch, or another outdoor opening, these steps allow us to gather the essential information before manufacturing.
The most important thing to remember: an opening that is not perfectly straight or level is not necessarily a problem. Many existing structures have small variations. The goal is simply to understand them properly from the beginning.
Phase 0 — Check if the Opening is Level
Before taking measurements, we recommend checking whether:
the left side,
the right side,
and the top of the opening
are level.
For this, use:
a minimum 4-foot level,
ideally a 6-foot level for better accuracy.
Is everything perfectly level?
YES → Great news. You can continue with Phase 1.
NO → Continue with Phase 1 anyway, but Phase 2 with the laser will become very important to confirm the irregularities of the opening.
Even a slightly irregular structure can often accommodate a custom motorized screen. The laser method simply helps us better understand any level differences before manufacturing.
Phase 1 — Width and Height
This first method allows you to obtain the general dimensions of your opening.
Measure the Width
Take 3 measurements:
at the bottom,
in the center,
at the top.
Write down each measurement separately.
Measure the Height
Take 3 measurements:
on the left,
in the center,
on the right.
Once again, record each measurement individually.
This information already gives us a very good understanding of your project and allows us to prepare an initial preliminary estimate.
Phase 2 — Laser Method
The laser method is recommended when:
the opening is not perfectly level,
the structure is older,
the columns or walls show variations,
or when you want the most accurate validation possible.
This step allows us to analyze any gaps, uneven areas, or slight structural twists before manufacturing your custom motorized screen.
Vertical Verification
Place the laser on the floor with the vertical line activated, a few inches from the left side of the opening.
Using a measuring tape, measure the distance between the side of the opening and the laser line:
at the bottom,
in the center,
at the top.
Write down each measurement.
Then repeat the exact same process on the right side.
Horizontal Verification
Next, place the laser at the center of the opening with the horizontal line activated.
Measure the distance between:
the top of the opening and the laser line,
then the bottom of the opening and the laser line,
at three different locations:
left,
center,
right.
These measurements allow us to confirm whether the opening has:
a slope,
a twist,
or a significant level difference.
The Photos to Send Us
Photos are extremely important for helping us properly understand your project.
We recommend sending:
an overall view of the opening,
a photo of the top of the structure,
a photo of each side,
a photo showing the level in place if possible,
and any specific detail you believe is important.
The more information we receive from the start, the better we can guide and advise you.
Download Our Free Guides
To help you step by step, we have prepared two detailed guides:
Phase 1 Guide — Level Method (french)
Phase 1 Guide — Laser Method (french)
These documents include:
illustrated step-by-step instructions,
the areas to measure,
worksheets to record your dimensions,
as well as the recommended photos to send.
Need Support?
If you have any doubts, if your structure seems complex, or if you simply prefer peace of mind, our team can also handle the measurements for you.
We regularly assist projects involving:
openings that are not perfectly level,
irregular columns,
older existing structures,
or unique configurations.
The goal is to confirm the feasibility of the project before manufacturing and avoid any unexpected issues.
You can also start by sending us a few photos of your space along with approximate measurements. We can then guide you toward the best approach for your project.

Comments